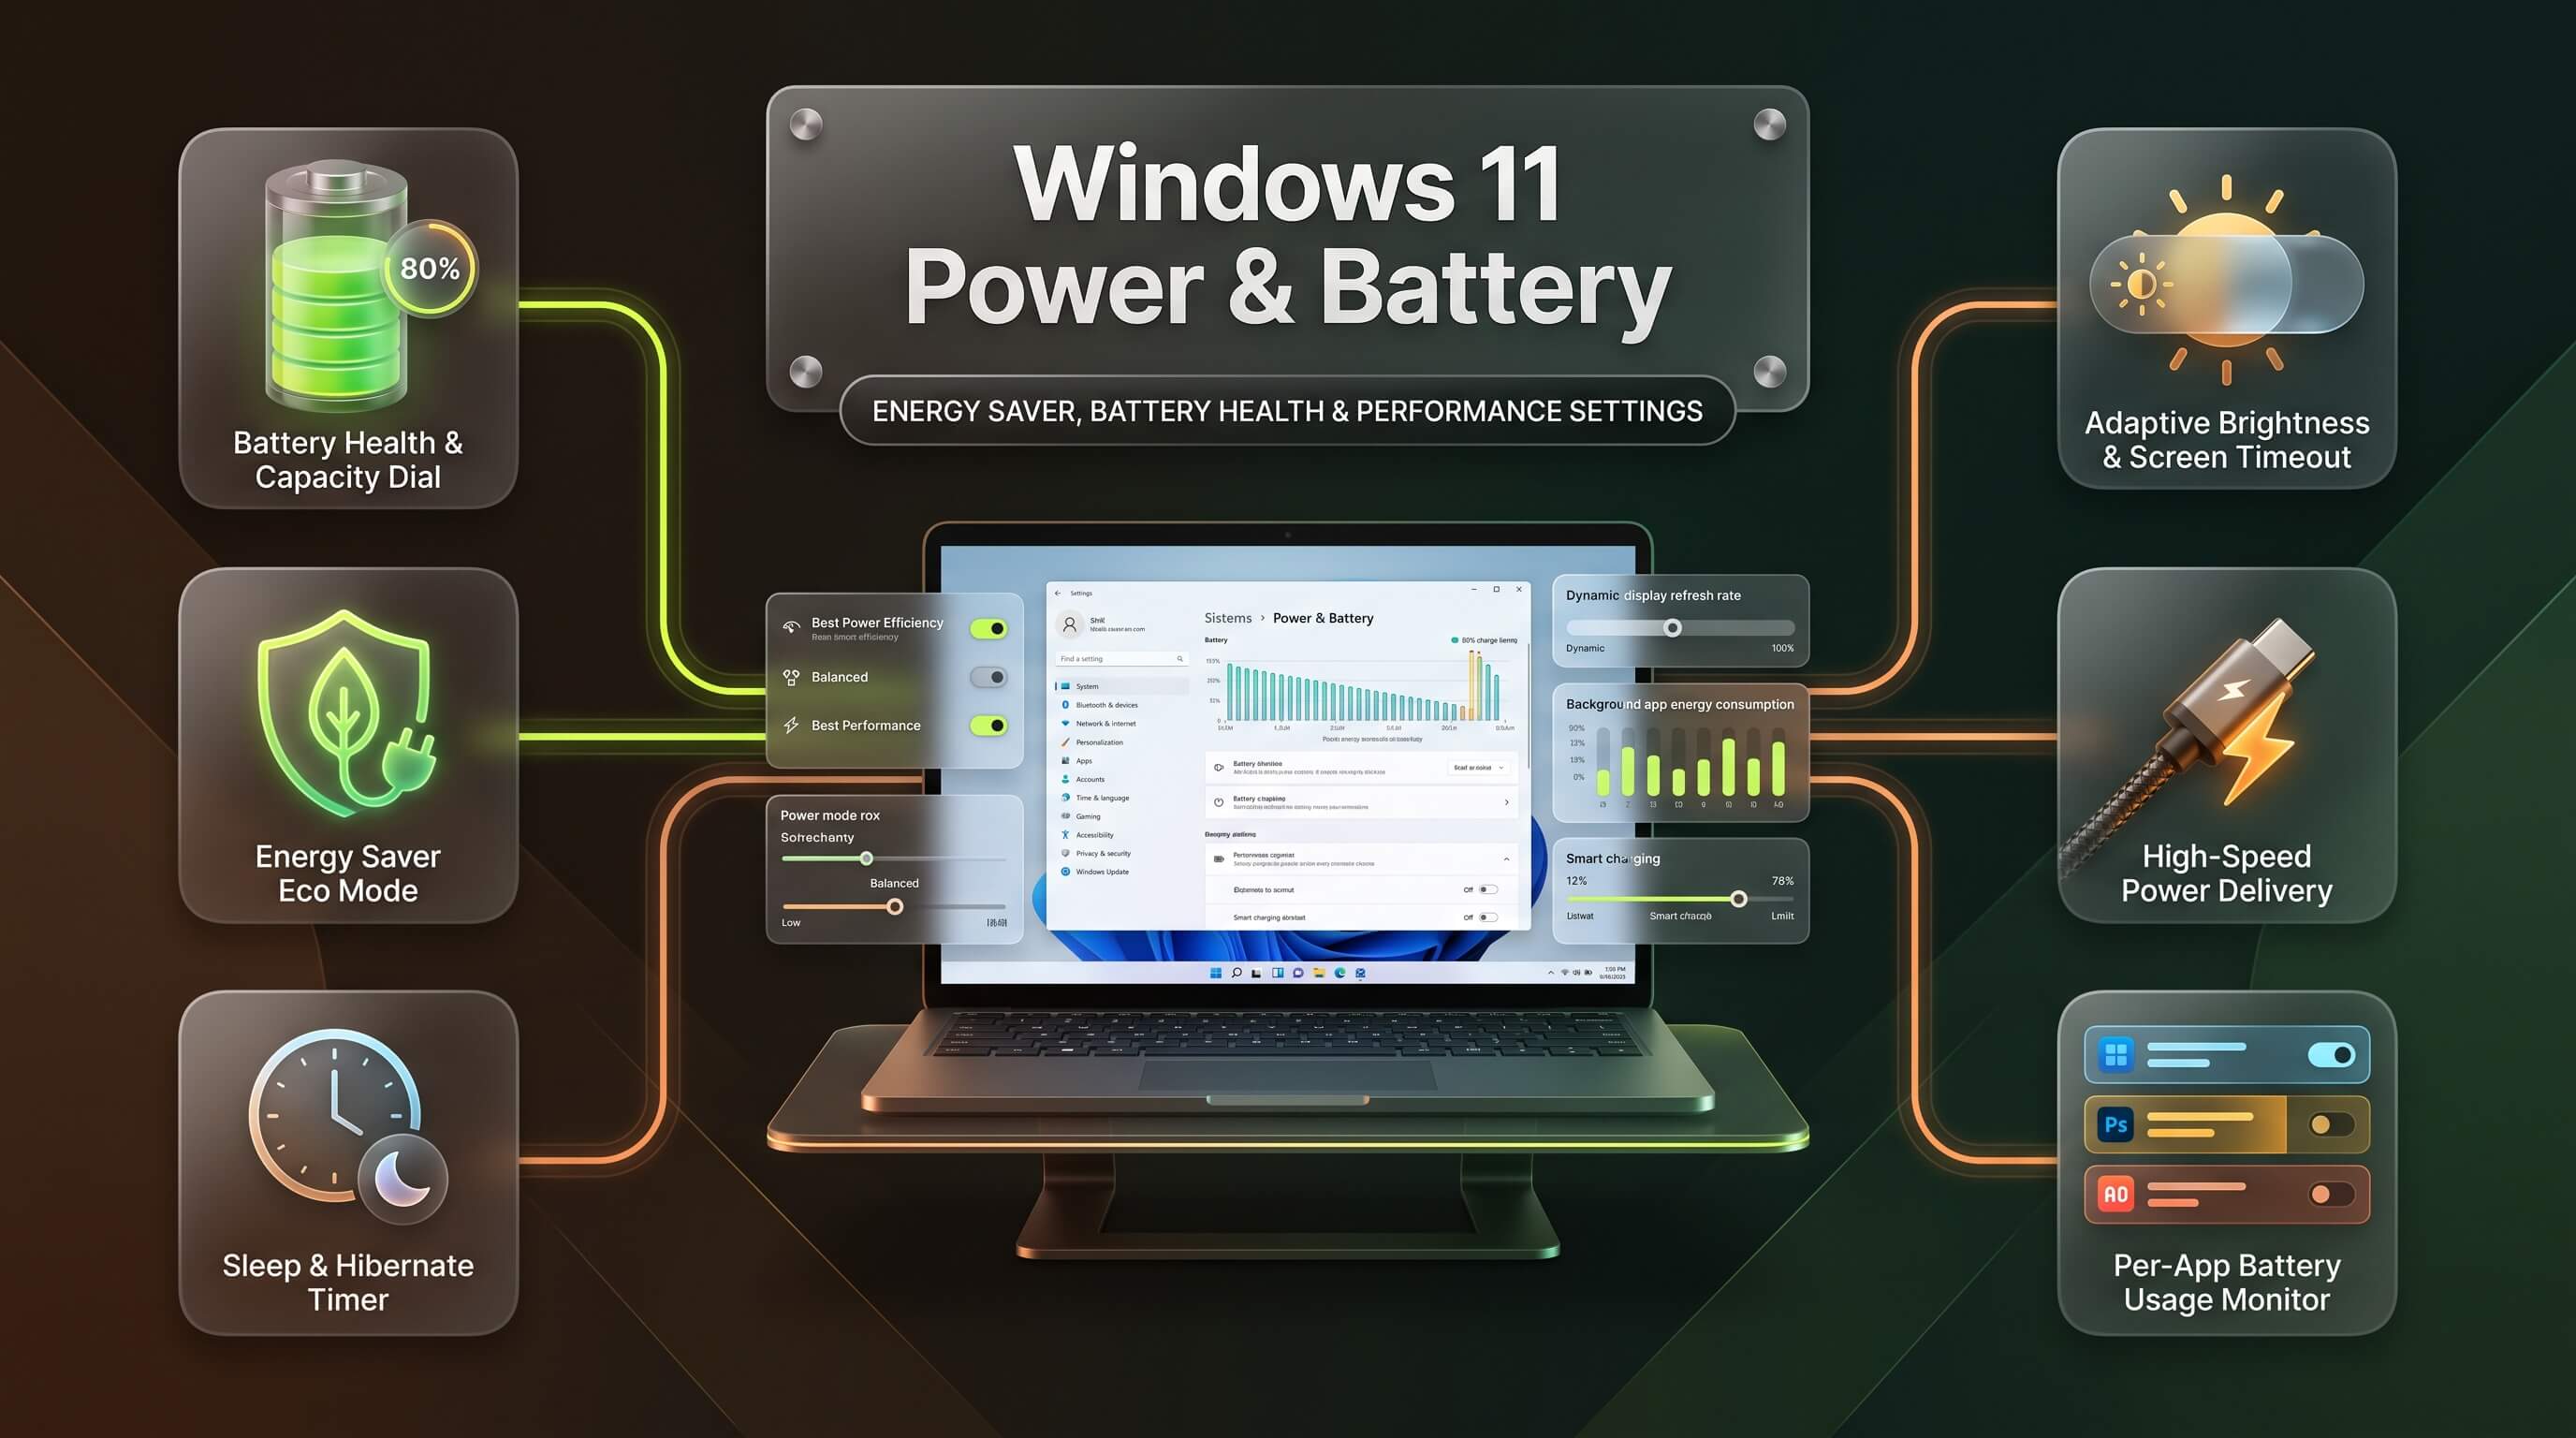
A laptop that dies halfway through a workday is more than an inconvenience; it interrupts meetings, stalls unsaved work, and leaves you hunting for an outlet at the worst possible moment. Most of that frustration traces back to settings that were never adjusted after the initial setup, not to a failing battery or an underpowered machine. Windows 11 power settings offer far more control than most users ever explore, and understanding how they interact with sleep, hibernation, and background activity can add hours of usable time to a single charge. This guide walks through every meaningful lever available, from the basics of enabling battery saver to the more advanced diagnostics that reveal exactly why a battery drains faster than it should.
Why Windows 11 Battery Life Varies So Much Between Devices
Two laptops with nearly identical specifications can deliver dramatically different windows 11 battery life, and the reason usually has little to do with the battery itself. Display brightness, background app activity, network radios, and the power mode selected all draw from the same finite pool of energy, and small inefficiencies compound quickly over the course of a full day. A screen running at maximum brightness alone can consume close to a third of total battery capacity on many laptops, which explains why two people using the same model can report wildly different runtimes.
Hardware also plays a real role, though not always in the way people expect. Solid-state drives draw meaningfully less power than older mechanical drives, and processors built on newer, more efficient manufacturing nodes squeeze more performance out of every watt than chips from just a few years earlier. Even so, hardware differences rarely explain more than a modest portion of the runtime gap between two otherwise similar machines; the software layer, meaning how Windows manages power behind the scenes, tends to matter more than most users assume.
Background processes deserve particular attention here. Startup programs, browser tabs running in the background, cloud sync clients, and Windows’ own indexing and update services all consume CPU cycles even when a laptop appears idle on the desktop. None of these individually feels significant, but stacked together across a full day of use, they add up to a measurable dent in total battery runtime, which is exactly why the optimization steps in this guide focus as much on reducing unnecessary activity as they do on adjusting hardware-level settings.
Understanding Windows 11 Power Modes
Windows 11 replaced the older, more granular power plan system with a simpler slider called Power Mode, found under Settings, System, Power & Battery. This single control lets you choose between three settings that most directly shape how aggressively the operating system uses your hardware at any given moment, and it can be configured separately for when the laptop is plugged in versus running on battery.
Best Power Efficiency prioritizes battery life above all else, reducing CPU clock speeds, limiting background task activity, and dialing back components that are not immediately needed. This setting is the right choice for anyone traveling, working from a coffee shop without easy access to an outlet, or simply trying to stretch a charge through a long flight. The trade-off is a noticeable dip in raw performance; demanding tasks like video exports or large compilations will take longer to finish under this mode.
Balanced sits in the middle and is the default windows 11 power plan setting for most laptops shipped today. Windows automatically adjusts performance based on what you are actively doing, ramping the CPU up for demanding tasks and scaling it back during idle periods or light browsing. For the majority of everyday users, this setting strikes the most sensible compromise, since it delivers responsive performance when needed without needlessly burning through battery during quieter moments.
Best Performance pushes hardware to its limit, keeping CPU clock speeds elevated and disabling most of the throttling that helps conserve energy elsewhere. Fans run louder, the chassis runs warmer, and battery drains considerably faster under this mode, which is why it makes sense mainly for plugged-in scenarios like gaming, video editing, or software compilation rather than everyday mobile use. Switching between these three windows 11 power options takes only a few clicks and applies immediately, without requiring a restart, so experimenting to find the right balance for your own workflow costs nothing but a few seconds of your time.
Navigating Windows 11 Power Settings and Power Options
Windows 11 spreads its power controls across two interfaces, a modern Settings panel and a legacy Control Panel screen inherited from earlier Windows versions, and knowing where to look for a specific option saves considerable time. The modern path, Settings, System, Power & Battery, houses the Power Mode slider covered above, along with screen and sleep timeout controls, battery saver configuration, and a battery usage breakdown by app.
The older windows 11 power options panel, reached by searching “Control Panel” from the Start menu and navigating to Hardware and Sound, then Power Options, still exists because it exposes settings the modern interface does not fully replicate, including the ability to create fully custom power plans, adjust processor power management percentages, and configure what happens when you press the physical power button or close the laptop lid. Advanced users managing multiple custom profiles, or troubleshooting a machine where the modern Power Mode slider has stopped responding, often need this legacy panel specifically.
One quirk worth flagging: if the modern Power Mode selector appears grayed out or unresponsive, it typically means a custom power plan is currently active rather than the standard Balanced plan Windows expects. Opening the legacy Control Panel, selecting Balanced there, and then returning to the modern Settings screen usually restores normal functionality. This overlap between old and new interfaces occasionally confuses users, but understanding that both control the same underlying system, just with different levels of granularity, makes troubleshooting far less frustrating.
Configuring Battery Saver and Energy Saver Settings
Windows 11 includes a dedicated feature designed to automatically reduce power consumption once battery levels drop below a threshold you define. This feature has gone through a naming change worth noting: earlier Windows 11 releases called it Battery Saver, while current builds on version 24H2 and later refer to the same functionality as Energy Saver, so do not be alarmed if the terminology differs slightly from older tutorials found elsewhere online.
Enabling windows 11 battery saver, or Energy Saver depending on your build, is straightforward. Navigate to Settings, System, Power & Battery, and expand the Energy Saver section. From here you can toggle it on manually at any time, or set a battery percentage threshold, commonly 20 or 30 percent, at which Windows activates it automatically without any action needed from you. Once active, the feature dims screen brightness slightly, pauses non-essential background app activity, disables certain visual effects, and limits push notifications and background sync for apps that support this behavior, all aimed at extending the remaining runtime before you reach a charger.
There is also an option labeled “Always use Energy Saver,” which keeps the feature permanently active regardless of battery percentage rather than waiting for a low-battery trigger. This setting suits users who prioritize maximum runtime over peak performance at all times, such as someone who primarily uses a laptop for document editing and web browsing rather than demanding creative or technical work. It is worth experimenting with this always-on approach for a few days to see whether the reduced performance is noticeable in your typical workflow before committing to it permanently.
Windows 11 Sleep Settings and Sleep Mode Explained
Sleep mode is one of the most frequently misunderstood power states in Windows, largely because its behavior differs meaningfully from simply turning off a display. When a PC enters windows 11 sleep mode, it stops actively running programs and reduces power to nearly every component, but it keeps a small amount of power flowing to RAM, preserving the exact state of every open application and document in memory. Waking from sleep takes only a second or two, since Windows simply restores power to the rest of the system rather than reloading everything from storage.
Configuring windows 11 sleep settings happens through Settings, System, Power & Battery, under the Screen, Sleep, & Hibernate Timeouts section, sometimes displayed simply as Screen and Sleep on certain builds. Here you can set separate timeout values for when the screen turns off and when the system enters sleep, each configurable independently for plugged-in and on-battery scenarios. A common and sensible configuration sets the screen to turn off after three to five minutes of inactivity on battery, with full sleep triggering after ten to fifteen minutes, giving enough buffer for brief pauses in work without needlessly draining the battery during longer periods away from the keyboard.
The trade-off with sleep mode is that it still draws a small trickle of power to keep RAM active, meaning a laptop left in sleep mode for several days can still lose a meaningful percentage of its charge, even though it appears to be doing nothing. This is precisely the gap that hibernation, covered next, was designed to close, and understanding the difference between the two states is essential for choosing the right one for a given situation.
Windows 11 Hibernate vs Sleep: Choosing the Right Power State
This comparison ranks among the most searched questions related to Windows power management, and for good reason: the two states look similar on the surface but behave quite differently underneath. Understanding windows 11 hibernate vs sleep comes down to where your open work actually gets stored while the PC is inactive.
Sleep, as covered above, keeps everything in RAM, which requires continuous, low-level power. Windows 11 hibernate, by contrast, writes the entire contents of RAM to a file on your storage drive, then completely powers down the system, drawing effectively zero battery while hibernating. When you wake the PC from hibernation, Windows reads that saved state back from storage into RAM, restoring your open applications and documents, though this process takes noticeably longer than waking from sleep, typically ten to thirty seconds depending on how fast your storage drive is and how much RAM needs to be restored.
The practical implication is straightforward: sleep suits short breaks where you expect to return within a few hours and value near-instant wake times, while hibernate suits longer gaps, such as overnight or over a weekend, where preserving battery matters more than instant resume speed. Many modern Windows 11 laptops also use a hybrid approach called Modern Standby on supported hardware, which behaves similarly to sleep but allows limited background activity, such as receiving emails or notifications, while still consuming very little power. Not every laptop supports Modern Standby; older hardware or specific chipset configurations may rely on traditional sleep and hibernate states instead, so checking your device’s actual behavior is worth doing rather than assuming based on general expectations.
| Feature | Sleep | Hibernate |
|---|---|---|
| Where session data is stored | RAM (requires continuous power) | Storage drive (hiberfil.sys) |
| Power consumption while inactive | Low but continuous | Effectively zero |
| Wake speed | Near-instant (1-2 seconds) | Slower (10-30 seconds) |
| Best suited for | Short breaks, quick resume needs | Overnight or extended downtime |
What Fast Startup Does and When to Turn It Off
Fast Startup is a feature that has quietly shaped how Windows boots since Windows 8, and it remains active by default on most windows 11 systems today. Rather than performing a completely fresh boot every time you power on the PC, Fast Startup saves a partial hibernation image of the kernel and loaded drivers when you shut down, then uses that saved state to boot more quickly the next time you power the machine on. This explains why windows 11 fast startup often shaves several seconds, sometimes considerably more, off boot times compared to a full cold start.
However, this speed comes with trade-offs that matter in specific situations. Because a shutdown with Fast Startup enabled is technically closer to a partial hibernation than a true shutdown, certain low-level system changes, including some driver updates, BIOS firmware updates, or dual-boot configurations involving another operating system, can behave unpredictably if Fast Startup interferes with a genuinely clean boot. This is the most common reason IT professionals recommend learning how to windows 11 turn off fast startup before performing significant hardware or firmware changes.
Disabling the feature is simple. Open Control Panel, navigate to Hardware and Sound, then Power Options, and click “Choose what the power buttons do” in the left sidebar. Click “Change settings that are currently unavailable” to unlock the checkboxes, then uncheck “Turn on fast startup” under the Shutdown settings section. Save your changes, and the next shutdown will perform a genuinely full power-off rather than the abbreviated hibernation-style shutdown Fast Startup normally uses.
It is worth weighing the trade-off honestly before disabling this feature permanently. For most everyday users, Fast Startup causes no issues and meaningfully improves the boot experience, so turning it off should generally be reserved for troubleshooting specific problems, preparing to dual-boot with Linux, or updating firmware and drivers that explicitly recommend a full shutdown beforehand, rather than as a default configuration change applied to every machine.
Reading and Understanding the Windows 11 Battery Report
Windows includes a built-in diagnostic tool that generates a detailed windows 11 battery report, revealing information that the standard battery icon in the taskbar simply does not surface. Generating this report requires the Command Prompt: open it by searching “cmd” from the Start menu, right-click to run as administrator, then type the command powercfg /batteryreport and press Enter. Windows will save an HTML file, typically to your user folder, which you can then open in any web browser.
The report itself is organized into several genuinely useful sections. Battery capacity history shows how your battery’s maximum charge capacity has changed over time compared to its original design capacity, which is the clearest available indicator of long-term battery wear. A battery that has degraded to significantly below its original design capacity, commonly seen after two to four years of regular use, explains reduced runtime even when every setting is otherwise optimized correctly, and no amount of software tuning can fully compensate for genuine hardware degradation.
Usage history, another section within the same report, breaks down active and standby battery drain over recent weeks, letting you spot patterns such as unusually fast drain during specific days or unexpected battery loss while the laptop was supposedly in sleep mode, which can point toward a background process preventing proper sleep. The report also estimates battery life at both full charge and design capacity, giving a useful before-and-after comparison that illustrates exactly how much runtime has been lost to battery aging over the device’s lifespan. Running this report every few months creates a useful trend line, making it far easier to tell whether declining battery life stems from software habits worth fixing or hardware wear that ultimately calls for a battery replacement.
Practical Windows 11 Battery Optimization Steps
Beyond the core settings already covered, a handful of smaller adjustments contribute meaningfully to overall windows 11 battery optimization when combined together. Display brightness is the single largest consumer of battery power on most laptops, and reducing it even modestly, particularly in dim environments where full brightness is unnecessary, produces one of the most noticeable improvements available. Enabling adaptive brightness, if your laptop includes an ambient light sensor, automates this adjustment without requiring manual intervention throughout the day.
Background app permissions deserve a dedicated pass as well. Settings, Apps, Installed Apps lets you review which applications continue running processes even when not actively in use, and many apps default to running in the background unnecessarily. Disabling background activity for apps you rarely use, while leaving it enabled for genuinely important ones like email or calendar clients, trims unnecessary CPU wake-ups without sacrificing functionality that actually matters to your workflow.
Wireless radios represent another often-overlooked drain. Bluetooth left permanently enabled without any paired devices actively connected still consumes a small but continuous amount of power scanning for nearby devices, and disabling it when not needed, along with turning off Wi-Fi entirely during long stretches of offline work, both contribute to extended runtime. Similarly, disconnecting unnecessary peripherals, including USB drives, external mice, or unused docking station connections, reduces the power draw those devices pull through the system even when mostly idle.
Startup programs compound the drain from the very moment you power on the machine. Task Manager’s Startup Apps tab lists every program configured to launch automatically at boot, along with an impact rating Windows calculates based on CPU and disk usage during startup. Disabling startup entries for software you rarely use immediately upon boot, while keeping essential tools active, both speeds up boot time and reduces the baseline background load your battery has to support throughout an entire session.
Improving Windows 11 Power Efficiency for Demanding Workloads
Users running demanding software, including video editors, developers compiling large codebases, or anyone doing sustained creative work on battery power, face a different set of trade-offs than casual users. Chasing maximum windows 11 power efficiency in these scenarios means finding a workable middle ground rather than simply defaulting to the most conservative power mode available, since Best Power Efficiency mode can meaningfully slow down genuinely demanding tasks.
Graphics settings offer one of the more overlooked opportunities here. Laptops with both integrated and discrete graphics processors can be configured, through Settings, System, Display, Graphics, to force specific applications to run on the more power-efficient integrated GPU rather than defaulting to the discrete graphics card for every task. Since discrete GPUs draw substantially more power than integrated graphics, restricting their use to genuinely graphics-intensive applications, such as video editing software or games, while forcing lighter applications like web browsers and office software onto integrated graphics, extends battery life considerably during mixed-use sessions without sacrificing performance where it actually matters.
Refresh rate is another lever worth understanding, particularly on newer laptops equipped with high-refresh-rate displays running at 90Hz, 120Hz, or higher. These displays look noticeably smoother during scrolling and animation, but they also draw more power than a standard 60Hz panel. Many Windows 11 laptops now support dynamic refresh rate switching, which automatically lowers the refresh rate during static content like document editing and raises it during smoother content like video or gaming; confirming this feature is enabled, through Settings, System, Display, Advanced Display, gives you the visual benefits of a high refresh rate display without paying the full battery cost at all times.
Finally, for users doing genuinely sustained heavy work on battery, accepting a shorter runtime in exchange for consistent performance is sometimes the more realistic strategy than fighting against Best Power Efficiency mode’s throttling. In these cases, keeping the laptop plugged in whenever reasonably possible, and reserving battery-only operation for lighter tasks, produces a more predictable and frustration-free experience than constantly toggling power modes mid-task.
Long-Term Battery Health Beyond Software Settings
Software optimization only addresses part of the equation, since lithium-based batteries degrade gradually through normal chemical aging regardless of how carefully Windows settings are configured. Understanding a handful of physical charging habits helps preserve maximum capacity for a longer period, extending the point at which battery replacement eventually becomes necessary.
Extreme temperatures accelerate battery degradation more than almost any other single factor. Leaving a laptop in direct sunlight, inside a hot car, or running demanding workloads on a soft surface that blocks proper ventilation all raise internal battery temperature beyond what is ideal, gradually reducing maximum capacity over months and years of cumulative exposure. Keeping the laptop in a reasonably cool environment during both use and storage meaningfully slows this degradation process.
Charging habits matter as well, though less dramatically than temperature exposure. Consistently keeping a battery at 100 percent charge for extended periods, particularly while also generating heat from active use, places more chronic stress on battery chemistry than a more moderate charging pattern. Some laptop manufacturers now include a battery care or charge-limiting feature in their proprietary software, letting users cap maximum charge at around 80 percent for daily use, reserving a full charge only for days when maximum runtime is genuinely needed. This trade-off sacrifices some daily runtime in exchange for meaningfully extended overall battery lifespan, and it is worth checking whether your specific laptop model offers this option through its manufacturer utility.
Full discharge cycles, once considered beneficial for battery calibration on older nickel-based battery chemistries, are actually mildly harmful to the modern lithium-ion batteries used in essentially every current Windows 11 laptop. Routinely draining a battery to zero percent before recharging places unnecessary stress on the cells compared to more moderate charge cycling between roughly 20 and 80 percent, which most manufacturers now recommend as the healthiest general range for daily use.
Troubleshooting Unexpected Battery Drain
When a laptop that previously held a reasonable charge suddenly starts draining much faster than usual, a structured troubleshooting approach saves considerable time compared to guessing randomly at settings. Start with Settings, System, Power & Battery, Battery Usage, which breaks down consumption by individual app over the past 24 hours or seven days. A single app consuming a disproportionate share of battery relative to how often you actually use it is often the clearest signal of a misbehaving background process worth investigating further.
Checking whether the PC is actually entering sleep properly when expected is another important diagnostic step, since a laptop that appears to be sleeping but is actually staying partially awake due to a misbehaving driver or peripheral will drain rapidly even when the lid is closed. Running the command powercfg /requests from an administrator Command Prompt window lists any active processes currently preventing the system from entering sleep, which frequently reveals the culprit directly rather than requiring extensive guesswork.
A recently installed driver update is a common, easily overlooked cause of sudden battery problems, particularly graphics or chipset drivers that occasionally introduce power management regressions. Checking Windows Update’s update history for recent driver installations around the time drain issues began, and rolling back a specific driver through Device Manager if a clear correlation exists, resolves this category of problem more often than users expect. Finally, running the battery report covered earlier confirms whether the issue traces back to genuine hardware wear rather than a software misconfiguration, which is an important distinction before spending further time chasing settings that were never actually the root cause.
Building a Complete Power Optimization Routine
Rather than treating each setting covered in this guide as an isolated adjustment, the most effective approach combines several of them into a coherent routine tailored to how you actually use your laptop day to day. A reasonable starting configuration for most mobile users sets Power Mode to Balanced while plugged in and Best Power Efficiency on battery, enables Energy Saver automatically at around 20 to 30 percent charge, sets screen timeout to three to five minutes on battery with sleep following ten to fifteen minutes later, and leaves Fast Startup enabled unless a specific compatibility issue arises.
From that baseline, adjust based on your specific work pattern. Frequent travelers who need maximum runtime during long flights or commutes benefit from setting Energy Saver to always-on and being more aggressive about disabling background app activity for anything non-essential. Users doing demanding creative or development work should keep the laptop plugged in whenever practical and reserve battery-only operation for lighter tasks, rather than fighting against throttled performance under Best Power Efficiency mode.
Revisiting the battery report every few months, rather than only checking it once out of curiosity, turns battery management into an ongoing habit rather than a one-time fix. Watching capacity trend downward over time helps set realistic expectations for when a battery replacement eventually becomes worthwhile, while consistently applying the settings covered throughout this guide ensures that whatever runtime your hardware is genuinely capable of delivering is not being needlessly wasted by unoptimized defaults.
Power Settings Differences Between Laptops and Desktops
Most of this guide naturally centers on laptop users, since battery life is irrelevant to a machine that stays permanently plugged in, but desktop users still benefit from understanding windows 11 power settings, just with a different set of priorities in mind. On a desktop, the goal shifts from extending runtime to reducing electricity consumption, minimizing wear on components, and controlling noise from cooling fans during idle periods.
Desktop users generally benefit from setting Power Mode to Balanced rather than Best Performance for everyday use, since Best Performance keeps the CPU running at consistently higher clock speeds even during light tasks like web browsing, generating unnecessary heat and fan noise without a meaningful benefit during non-demanding work. Reserving Best Performance specifically for gaming sessions, video rendering, or other genuinely CPU-intensive work, then switching back to Balanced afterward, offers a sensible middle ground that keeps a desktop quieter and more power-efficient during the majority of a typical day.
Sleep and hibernate settings matter differently for desktops as well. Since a desktop is not portable, extending timeouts before sleep triggers is generally more reasonable than on a laptop, particularly for machines that double as a media server, download client, or home automation hub where staying awake and reachable matters more than conserving power during brief absences. That said, a desktop left permanently on rather than sleeping when genuinely unused still wastes meaningful electricity over the course of a year, so configuring a sensible sleep timeout, even a generous one, rather than disabling sleep entirely remains worthwhile for most home setups.
Using Command Line Tools for Deeper Power Diagnostics
Beyond the graphical settings covered throughout this guide, Windows 11 includes a command-line utility called powercfg that unlocks diagnostic capabilities the standard Settings app does not expose at all. Beyond the battery report and sleep-blocking diagnostics already mentioned, a few additional commands are worth knowing for anyone serious about windows 11 battery optimization.
Running powercfg /energy from an administrator Command Prompt window triggers a sixty-second analysis of the system, after which Windows generates a detailed report identifying specific power management issues, including devices that fail to enter low-power states properly, USB devices preventing selective suspend, or drivers not correctly supporting Windows’ power management framework. This report goes considerably deeper than the standard battery usage breakdown found in Settings, making it a valuable next step for anyone who has already tried the basic optimization steps covered earlier without seeing the improvement they expected.
The command powercfg /devicequery wake_armed lists every device currently allowed to wake the PC from sleep, which is worth reviewing if a laptop keeps waking unexpectedly inside a bag, draining battery and generating heat in an enclosed space. Removing wake permissions from devices that do not need them, such as a mouse or keyboard that should only wake the system when directly interacted with, is done through Device Manager by unchecking “Allow this device to wake the computer” on the relevant device’s Power Management tab.
Frequently Asked Questions
Should I use hibernate or sleep for overnight downtime?
Hibernate is generally the better choice for overnight or extended downtime, since it saves your session to storage and draws effectively no battery power while shut down. Comparing windows 11 hibernate vs sleep comes down to trading a slightly slower wake-up time for hibernate against the near-instant resume that sleep offers but at the cost of continuous low-level battery drain.
Is it safe to turn off windows 11 fast startup?
Yes, disabling Fast Startup is safe and does not damage your PC in any way. The only trade-off is a slightly longer boot time, since the system performs a genuinely full startup rather than resuming from a partial hibernation image, which is why many users choose to windows 11 turn off fast startup temporarily before driver updates, firmware changes, or dual-boot configuration.
How do I check if my windows 11 battery has degraded over time?
Run the windows 11 battery report by opening an administrator Command Prompt and typing powercfg /batteryreport, then open the generated HTML file in a browser. The capacity history section compares your battery’s current maximum capacity against its original design capacity, giving a clear picture of how much genuine hardware wear has occurred over time.
Which windows 11 power plan is best for everyday use?
Balanced is the recommended windows 11 power plan for the vast majority of everyday tasks, since it automatically scales performance up during demanding activity and scales back down during idle periods without requiring manual adjustment. Best Power Efficiency is worth switching to specifically when you need to stretch a charge during travel or extended time away from an outlet.
Does enabling windows 11 battery saver slow down my laptop?
Battery saver, now called Energy Saver on current Windows 11 builds, does reduce some performance by dimming the screen slightly, limiting background app activity, and disabling certain visual effects, but the impact is generally mild for typical browsing, document editing, and video calls. The performance reduction becomes more noticeable during genuinely demanding tasks like video rendering, which is why it is best reserved for situations where extending runtime matters more than peak speed.